
Contents of this Post
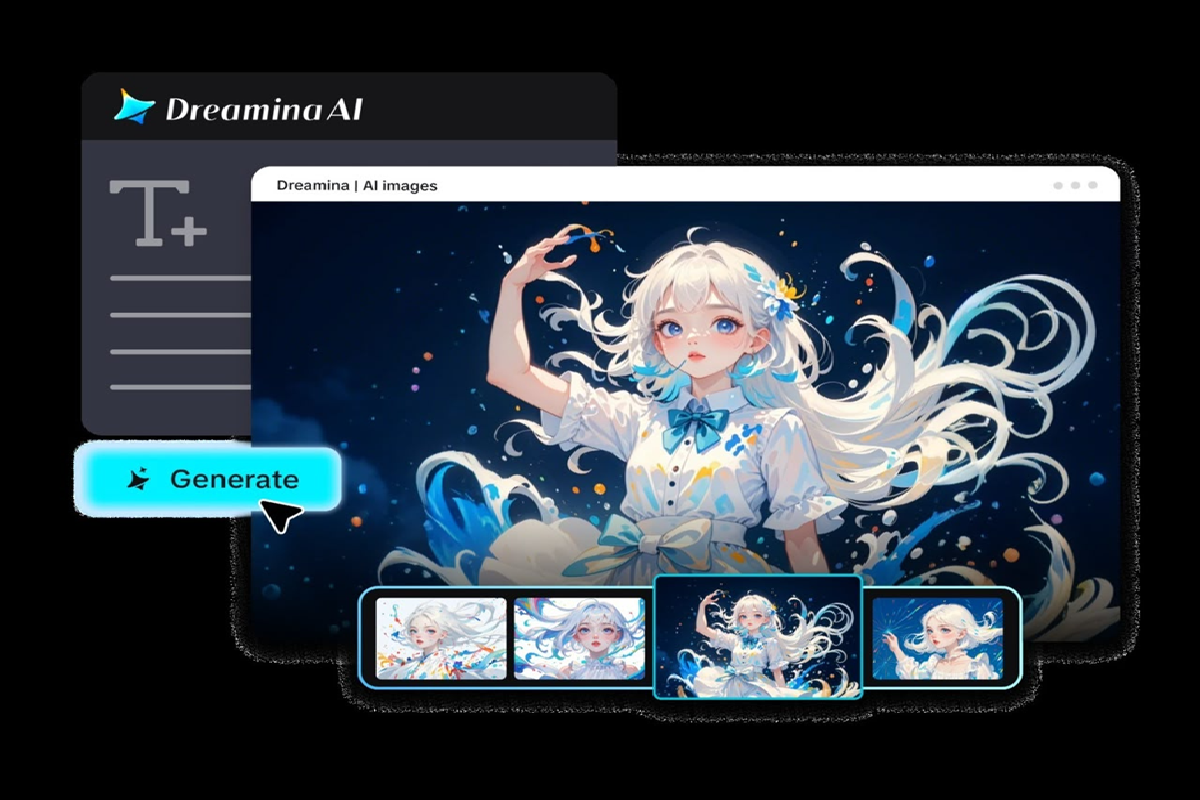
ToggleEven a nice picture can have distracting elements, unfinished backgrounds, or details that need to be carefully refined. When a few changes in the composition are the solution, rebuilding the entire composition can be a waste of time. Dreamina AI combines image generation and editing capabilities, allowing creators to edit images and enhance visuals without having to begin anew on each project. It comes with various editing options, such as Retouch, Remove, Expand, and Creative Upscale. Knowing the differences can help you select the proper adjustments, retain successful elements, and create cleaner images. A systematic workflow also simplifies reviewing and exporting the final composition.
Understand the Difference Between Retouch, Remove, and Expand
Dreamina AI provides editing tools that solve specific visual issues instead of re-creating the entire image. Retouch is used to retouch selected details, such as finishing touches and minor imperfections. Remove gets rid of clutter, including distracting items or unnecessary background details. But for convincing removal, it’s a matter of surrounding textures, patterns, and overlapping objects. Expand enlarges and extends the canvas beyond the current borders, allowing for wider backgrounds, an alternate frame, and extra negative space. The newly created areas might not be the same as the original scene. The use of the right tool can maintain effective details and repair any isolated weaknesses.
Diagnose the Image Before Choosing an Editing Tool
Prior to making edits, review the entire composition and carefully scrutinize key areas. Determine if the problem is subject detail, an unwanted object, an inadequate canvas, or image resolution. Identify the elements that need to be the same, such as facial features, product shapes, lighting, and shadows. Think about whether the correction is a single area or if it needs to be a more significant change in the composition. The background colors, textures, and perspective should be consistent after editing. AI image generator by Dreamina offers a seamless platform for generating and editing images. If you begin with a clear diagnosis, no elements will be changed unnecessarily, and elements that are working well will be protected
Steps: How to Retouch, Expand, and Remove Elements With Dreamina
Step 1: Start your edit project and describe the idea
- First, sign up or log in to Dreamina to begin editing and creating your image.
- Next, select the “Create” tab from the left menu and open the “AI Image”
- Write a detailed prompt describing the image elements, theme, and concept you want as your base.
Step 2: Choose your model and generate the base image
- Then, pick an image model from the options at the bottom of the dialogue box.
- The list includes Seedream, GPT Image, and Nano Banana, so select the one you prefer.
- Attach a reference image if you want a more precise and natural-looking base for edits.
- Adjust the “Aspect ratio” and “Resolution” tabs to set a custom frame for your image.
- Use “Images to generate” to pick the draft count, and “Dimensions” to enter custom sizes.
- Add lettering through the “Draw text on image” tab whenever your design needs written text.
- Finally, click the “Generate” tab to begin the creation process for all your base drafts
Step 3: Retouch, expand, remove, and export
- Dreamina presents the required number of drafts so you can compare them side by side. If the results disappoint you, choose “Edit prompt” or “Regenerate” to refine the generated results
- Use the “Creative upscale” option to upscale the generated image with richer detail and clarity.
- Select “Retouch” to correct, clean up, or enhance details of your chosen image with precision.
- Click “Remove” to take anything out of your image, or use “Expand” to extend it.
- To create a video from the generated image, use the “Generate video” tab
- Dreamina gives you complete freedom to edit your image just the way you like it.
- Finally, click the “Download” tab at the top right to save the image file locally
Six Editing Principles for Cleaner, More Cohesive Results
Use these guidelines to maintain consistency and make only the necessary changes.
- Target definition: Determine the precise detail that needs to be improved and don’t change any other elements.
- Context preservation: Keep the perspective, lighting, and composition consistent around objects and textures that are being edited.
- Background reconstruction: Identify surfaces, patterns, edges, and shadows after discarding unwanted features.
- Canvas planning: Determine placement of extra space without obscuring the focus of the main area.
- Detail refinement: Carefully look at important edges, faces, product surfaces, and small design details.
- Final comparison: Make a comparison between original and edited images to check for improvements, but no distracting changes.
Use Remove for Distractions Without Damaging the Composition
Remove can be used to clean product photos, portraits, promotional artwork, and environmental photos. There can be unwanted objects that distract viewers from the subject or hinder the message. Simple backgrounds tend to lend themselves more easily to reconstruction than detailed architectural surfaces or intricate patterns. Removal may be more difficult due to overlapping subjects, reflections, shadows, and transparent objects. Once you’ve taken out an element, check for any discrepancies in adjoining edges and details. If the rebuilt regions don’t look natural, tweak the prompt or try another edit. Keep the context intact and don’t cut out things that would help tell the story of the image.
Use Expand to Adapt Images to New Layouts
Expand will add space outside of an image’s current borders so that it can fit into other layouts without cutting vital elements. If the banners are wider, more landscape background might be needed, and if they are portrait, more space above or to the side of the subject may be required. Additional negative space can also be used for headlines, captions, and promotional copy. The extended area should match the original lighting, color scheme, and perspective in order to create convincing results. Surroundings generated can add inconsistencies; check the whole composition after expansion. Look for consistency of flow between original and added areas, and that the subject is balanced and visually prominent.
Improve Fine Details and Output Resolution
Retouch and Creative upscale are two different functionalities for image retouching. Retouch takes care of specific areas to get rid of localized flaws without altering the whole composition inappropriately. Creative upscale is used to increase the resolution of an image when it is going to be presented with a higher level of detail. Once enhanced, check for artefacts in fine details, edges, facial features, and small design elements. An increase in resolution does not make faulty information right or missing information appear. Before upscaling, think about the size at which the image will be viewed and the delivery needs. Before downloading or publishing, carefully check the final image.
Combine Editing Operations Into a Logical Sequence
The first step in a practical workflow is to get rid of distracting elements that detract from the primary composition. Then, polish off appropriate details after the general visual structure is deemed satisfactory. When a different layout calls for more space around the canvas, expand the canvas. Before going further, check the connection between the original and the generated regions. Once the composition and its visual details have been completed, apply Creative upscale. Save the output and then check the downloaded file before putting it in a completed design. This is a suggested sequence and not a required order. Some projects need to be expanded for removal; others need only localized retouching.
Conclusion
Dreamina AI merges Retouch, Remove, Expand, and Creative Upscale to cater to various image editing requirements. Each tool serves a different purpose, whether it’s for fine details or to expand the canvas or increase resolution. Before making any unnecessary modifications, it is best to diagnose the problem so that successful parts of existing visuals are not lost. Local adjustments can maintain the original composition but enhance its appearance. Creators can choose the operations and carefully check each outcome to ensure images are refined with greater control and confidence